Kigurumi Mask Care
Cleaning a Kigurumi Mask
Clean the exterior
It might go without saying, however the best way to keep a mask clean is to avoid it getting dirty in the first place. If touching up the hair consider plastic wrap over the face to avoid any product getting on the mask, when storing it keep it in a clean dry place away from dust or where messes could end up on it.
If you do need to clean the exterior, essentially start with the least aggressive method and work your way up.
- Remove loose dust with a clean soft brush or microfiber cloth.
- Test a slightly damp cloth on an inconspicuous area, makers should have their paints clear coated but the rare odd maker might not have makeup so protected.
- Blot or wipe gently instead of scrubbing.
- Let the mask dry completely before storing it.
Magic erasers and similar melamine sponges are a great next step if required, but are slightly abrasive. If used too aggressively they can dull clear coats or remove paint, so be gentle with use.
Scratches and paint chips if they occur usually need more than cleaning. If you attempt a touch-up, test the color and paint compatibility away from the mask first, even a close skin tone can dry to a visibly different color or sheen. Skin-tone paint markers can be a great way to easily do a minor touch up if needed.
Clean the interior
If padding is removable, remove it and wash it with a bit of skin-safe soap or detergent, then let it dry completely. If the padding is fixed a bit of disinfectant like rubbing alcohol can be used sparingly to disinfect and clean, a fan pointed at the padding can help speed up the drying process. Trapped moisture can lead to odors or mildew, so make sure it's actually dry.
Similarly if you find the insides sweaty, wipe them down with a paper towel, a gentle use of disinfectant can help but make sure its only used sparingly on the inside, not applied in ways that might get it spilling out onto the exterior.
Padding a Kigurumi Mask
Mask makers will do a best effort at providing a fit that works for many. Often though you may need to do some adjustments to get it just perfect, and many makers include extra padding with the mask for this very purpose.
Before adding padding, put the mask on briefly and note:
- Whether the eyeports align with your eyes or if there's a better position that greatly improves visibility
- If the mask tilts or rotates like a bobblehead
- Does it sit too low or high, is it "swallowing" up your entire neck?
Padding the top of the head, back of the head, or forehead are the most common areas. Although it may also be worth experimenting with paddings at cheek level depending on fit. It should be snug, but not too tight.
Padding usually comes in either directly applied foam, or a removable type that can be velcro'd into place. Regardless of the method, test fit padding before adhering any of it or the attachment material to the mask.
Too hot? It may sound counter intuitive, but the more padding you add the cooler a mask can often become. The best airflow in a mask is achieved when there isn't empty space for air to linger, where you have a more direct airflow path from your face to the viewports or other areas where air can escape. Empty space for air to linger is where heat and humidity builds up, leading to a more uncomfortable experience.
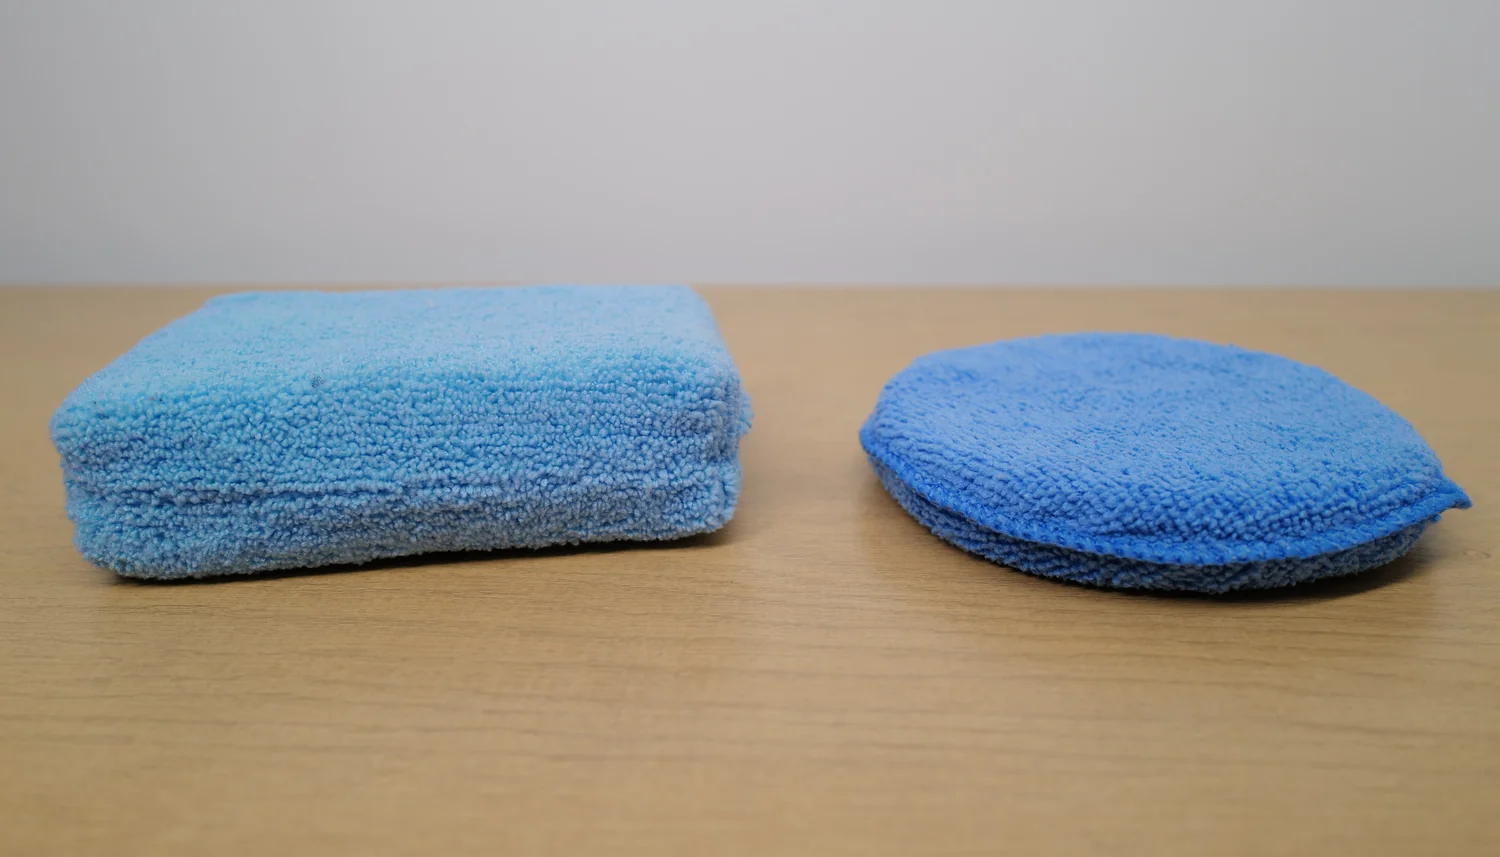
If you want to set things up for removable padding, a common type is to use "Microfiber Applicator" sponges commonly available on Amazon and other marketplaces. Basically just a sponge with microfiber covering. Easy to wash, and can be held in place with velcro-type fasteners.
Storing a Kigurumi Mask
Before storage:
- Make sure the mask and padding are clean and completely dry
- Gently detangle and arrange the hair is doing your future self a favor, rather than tidying it up later
- Support long hair with loose scrunchies if needed to keep it from getting messy or tangled
Store the mask in a stable box, padded case, or suitable stand where it cannot fall. Keep it away from direct sunlight, high heat, moisture, dust, pets, and objects that could press against the face or hair. A breathable dust cover or loose clean bag can reduce dust without trapping moisture.
For long-term storage, inspect the mask periodically. A desiccant can help in highly humid climates.
See Traveling with a Kigurumi Mask for packing and transport guidance.
Scratches and minor chips
Accidents do happen, and paint is the weakest point of a mask in terms of durability. Minor scratches and chips can usually be touched up with a bit of paint.
One common strategy is to use a paint marker to touch up a scratch, then wipe away any excess paint, doing multiple layers if needed. There isn't an exact single paint solution that perfectly matches all masks, visiting your local art store might be the best way to find some near matches.
POSCA brand markers for example the closest on most kig masks is their "Powder Pink" shade followed by "Light Pink". For masks that lean warmer in tone, "Satin Pink" is about the closest they have.